


Using the recovery disc set:
The recovery disc package for Windows XP™ / Vista™ consists of these user instructions and a set of DVDs to restore your Lenovo™ computer to the original factory configuration. The following table describes the various types of recovery discs that are included in your recovery disc package.
Table 1. Contents of recovery disc package
Disk 1
Name: Start Recovery Disc.
Description: This is a bootable disc that will start the recovery process.
Marked as: 1.
Quantity: One (1) disc.
Disk 2
Name: Operating System Recovery Disc.
Description: This disc restores the Windows Vista operating system.
Marked as: 2.
Quantity: One (1) disc.
Disk 3
Name: Applications and Drivers Recovery Disc.
Description: This disc restores the software that was preinstalled on your computer.
Marked as: 3.
Quantity: One or more discs with this title, depending on computer model.
Disk 4
Name: Supplemental Recovery Disc.
Description: This disc contains additional content, such as updates to the software that was preinstalled on your computer.
Marked as: 4.
Quantity: Varies by model. Not all computer models require a Supplemental Recovery Disc, so you might not have this disc in your disc package. If your computer model does require a Supplemental Recovery Disc, you might have one or more discs with this title.
Note:
• You must have a drive capable of reading DVDs to use these recovery discs.
• Only the Start Recovery Disc is bootable.
If you do not have an internal drive capable of reading, you can use an external USB DVD capable drive. However, the external USB DVD capable drive must be attached before you begin this procedure.
Important: During the recovery process, all data on all partitions of the hard disk will be deleted, including any personal data and configuration settings. If possible, copy any important data or personal files that you want to keep onto removable media or a network drive before you start the recovery process.
Performing the recovery process:
To recover your preinstalled software using the recovery disc set, perform the following steps:
Step 1. Make sure the DVD capable drive is the first startup device in the startup sequence using the following procedure:
a. Shut down the operating system and turn off your computer.
b. Press and hold down the F1 key, and then turn on the computer. When the logo screen is displayed or if you hear repeating beeps, release the F1 key. The Setup Utility program opens.
Note: If the Setup Utility program does not open, shut down the computer, wait approximately 5 seconds, turn on the computer, then immediately press and release the Fl key repeatedly until the Setup Utility program opens. The available options might vary from those described below, depending on your computer model.
c. Depending on your model, do one of the following:
• Use the arrow keys to select Startup from the main menu. From the Startup menu, select Startup Sequence and then press Enter.
• Use the arrow keys to select Advanced BIOS Features and then press Enter.
• Use the arrow keys to select Boot from the main menu. From the Boot menu, select Boot Device Priority and then press Enter.
d. Do one of the following:
Note: If you will be using a supported external DVD drive for this procedure, substitute USB CDROM for IDE CD or CDROM in the following instructions.
• If CDROM is not listed as the first boot device, highlight the field and press Enter. When the device menu displays, use the arrow keys to select CDROM and press Enter.
• If IDE CD is listed in the startup sequence as any device other than the first device, select it and press the Plus (+) key repeatedly until it is displayed as the first device. Continue with step 2.
• If IDE CD is listed as an excluded device, select it and press the x key one time to add it to the startup sequence. Then, select IDE CD from the startup sequence and press the Plus (+) key repeatedly until it is displayed as the first device. Continue with step 2.
• If IDE CD or CDROM is already listed as the first startup or boot device, continue with step 2
.
Step 2. Insert the bootable Start Recovery Disc into the DVD drive.
Step 3. Press F10 to save. Depending on your model, when the save and exit message is displayed, select Yes or Y, and then press Enter to start the computer from the bootable Start Recovery Disc.
Note: If the computer does not restart, press Ctrl+Alt+Delete to restart the computer.
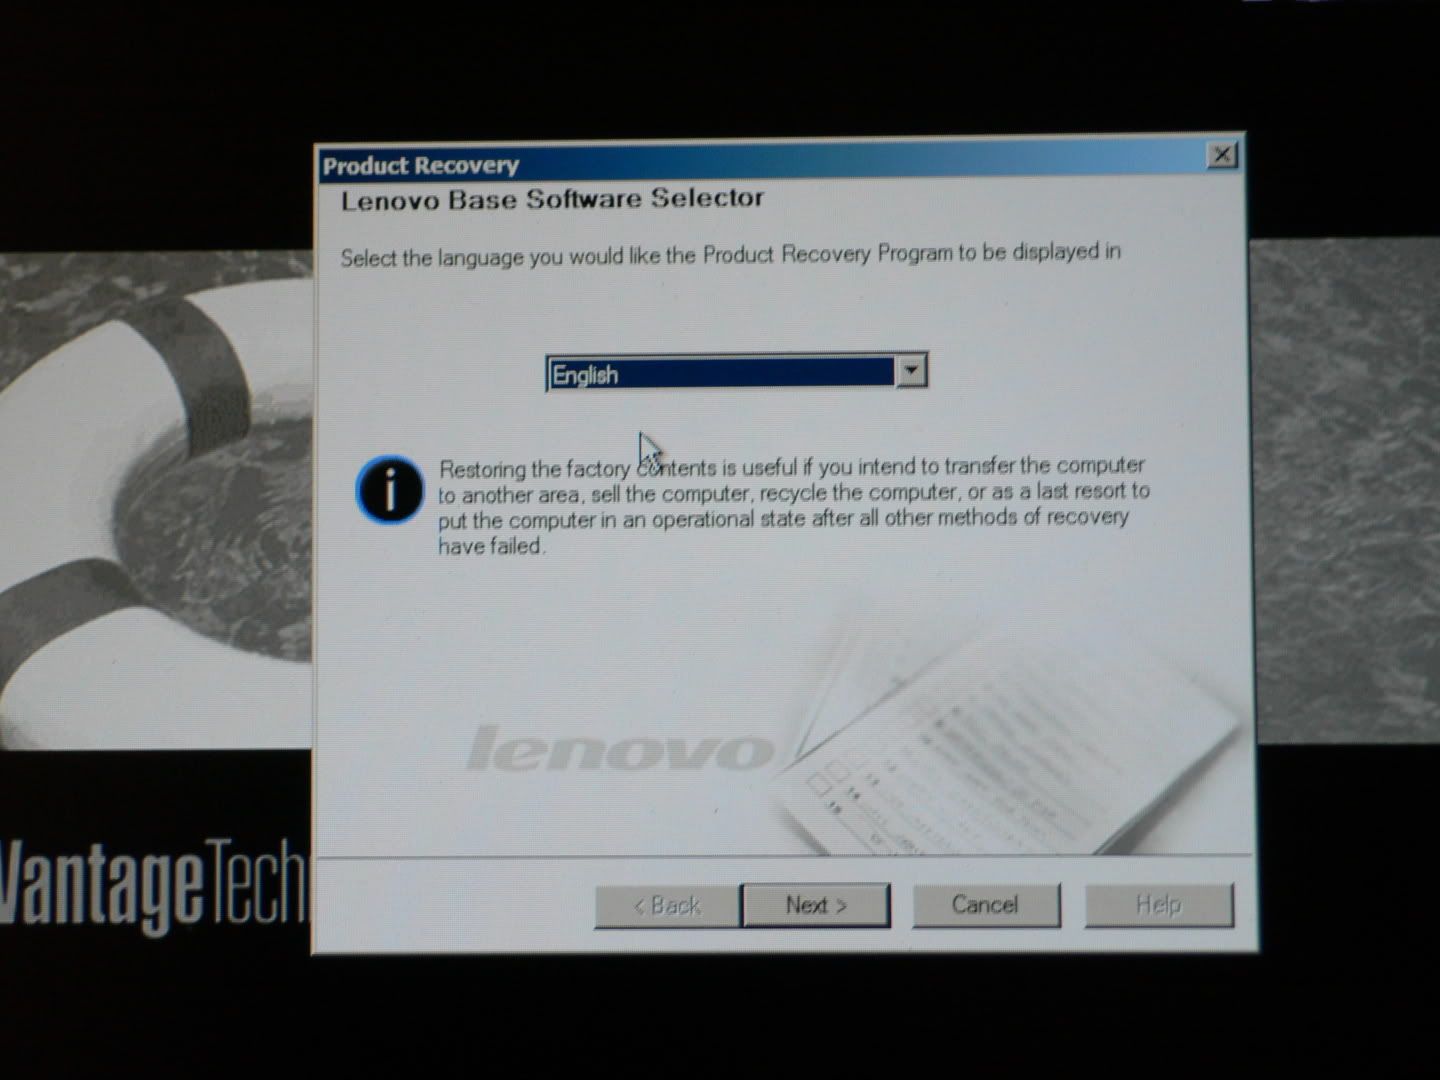
Step 4. Select your language and click Next.
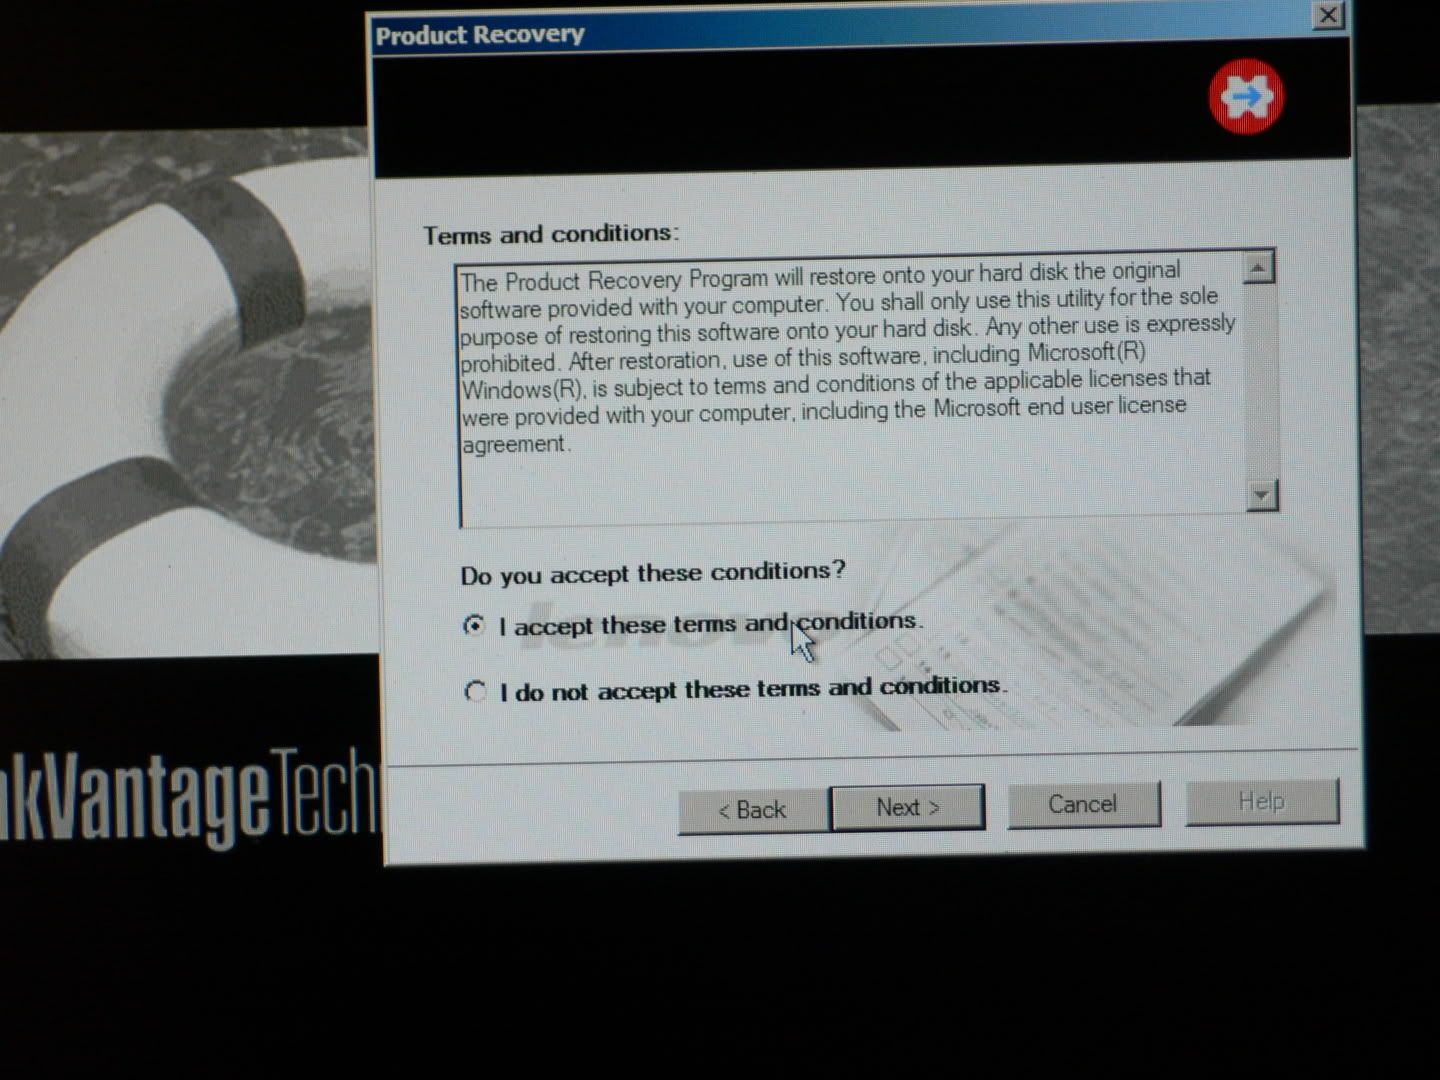
Step 5. Read the license. If you agree with the terms, select I accept these terms and conditions and then click Next.
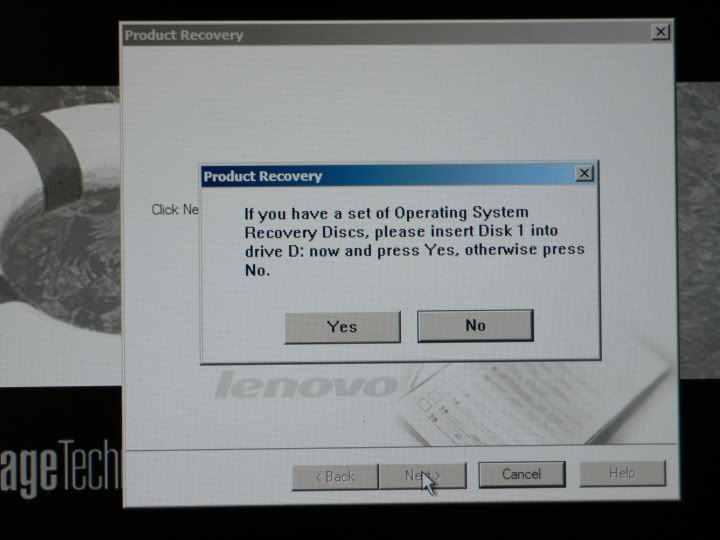
Step 6. Insert the Operating System Recovery Disc when prompted and click Yes to begin the operating system recovery process.
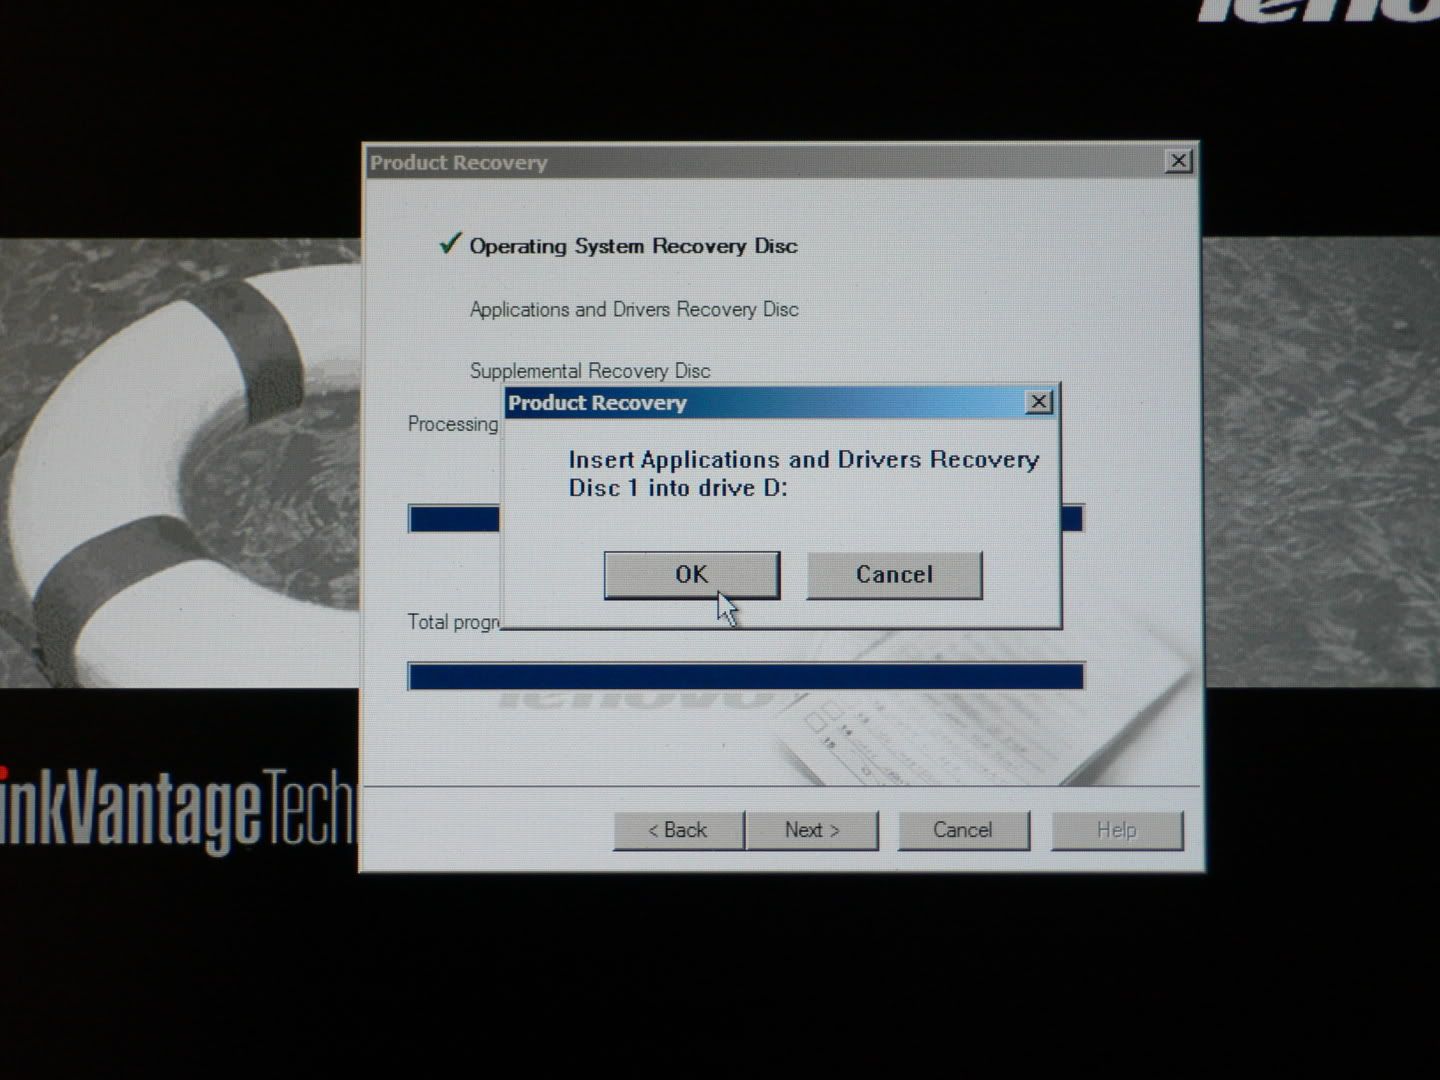
Step 7. Insert the Application and Drivers Recovery Disc when prompted and click OK.
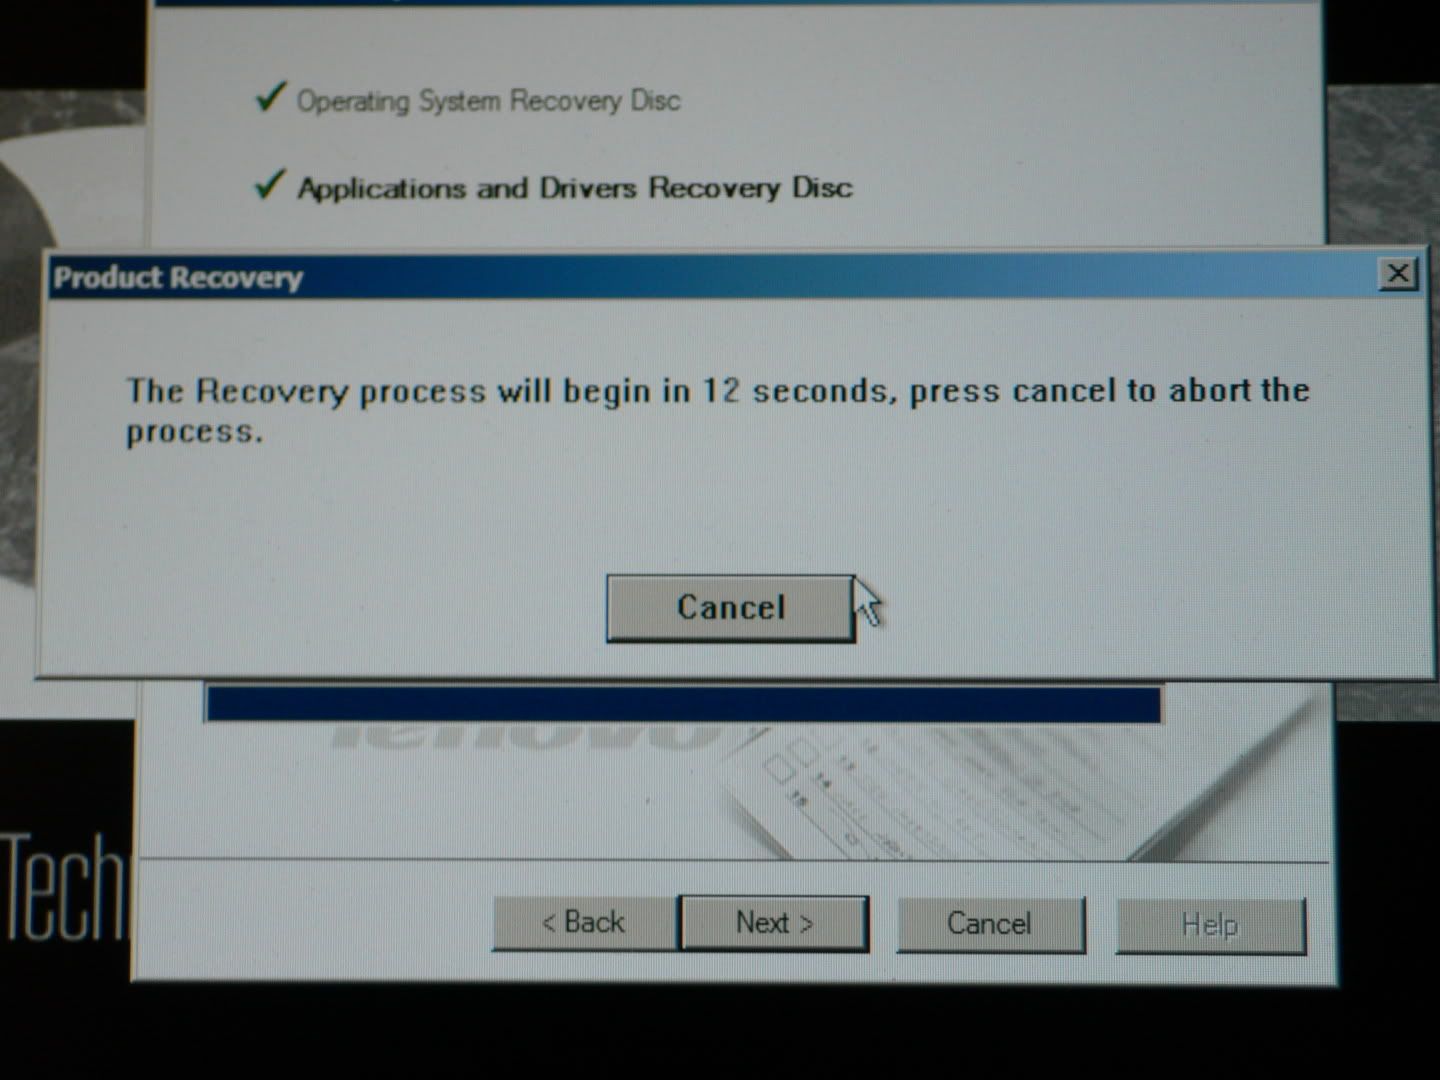
Step 8. If you have a Supplemental Recovery Disc, insert it when prompted and click Yes. If you do not have a Supplemental Recovery Disc, click No.
Note: Not all recovery disc sets come with a Supplemental Recovery Disc. If there is a Supplemental Recovery Disc, it will be clearly marked as such.
Step 9. When all of the data has been copied from the last disc in the set, a message is displayed prompting you to restart the computer. Remove the disc and then click Yes.
Note: The remainder of the recovery process is fully automated and no action is required by you. The computer will restart into the Windows desktop several times and you might experience periods when no activity is apparent on the screen for several minutes at a time. This is normal.
Step 10. When the recovery process is complete, the Welcome to Microsoft Windows screen is displayed. Follow the instructions on the screen to complete the Windows setup.
Step 11. After you have completed the Windows setup, you can restore the original startup sequence as follows:
a. Shut down your operating system and turn off your computer.
b. Press and hold down the F1 key, and then turn on your computer.
c. When the logo screen is displayed, press and release the F1 key. The Setup Utility opens.
Note: If the Setup Utility program does not open, shut down the computer, wait approximately 5 seconds, turn on the computer, then immediately press and release the F1 key repeatedly until the Setup Utility program opens.
d. Depending on your model, do one of the following:
• Use the arrow keys to select Startup from the main menu. From the Startup menu, select Startup Sequence and then press Enter.
• Use the arrow keys to select Advanced BIOS Features and then press Enter.
• Use the arrow keys to select Boot from the main menu. From the Boot menu, select Boot Device Priority and then press Enter.
e. Depending on your model, do one of the following:
• Press F7 to restore the startup sequence to the default values. When prompted to load the default setting, press Y and then press Enter.
• Press F9 to restore the setup default values. When prompted to load the default settings, select Yes and then press Enter.
f. Press F10 to save and exit the Setup Utility.
g. When prompted, select Yes or press Y in the Setup Confirmation window and then press Enter.
Note: After restoring a hard disk to the original factory contents, you might have to reinstall device drivers for some devices. Refer to the Lenovo Care program or the ThinkVantage™ Productivity Center for details.
Lenovo and ThinkVantage are trademarks of Lenovo in the United States, other countries, or both. Microsoft, Windows, and Windows Vista are trademarks of Microsoft in the United States, other countries, or both. Other company, product, or service names may be trademarks or service marks of others. End User may not loan, rent, lease, lend, or otherwise transfer the media provided for recovery purposes to another user, except as permitted in the License Terms for such Product.
EDIT: November 3rd, 2007.
Another moderator pointed me towards an important key element that I missed. This FAQ stands true for thinkpads released by lenovo between 2005-present (*60/*61 series mainly and the Recovery disks created via 4.x version of Thinkvantage Rescue and Recovery's create media option). If you own thinkpad from another series then you should consider looking at this, a guide released by IBM (last modified 2003-07-17). (generally most of the steps are identical). Also, if you get stuck after step 9 with Rescue and Recovery keeps on booting in a loop and not entering Windows then all you need to do is:
GomJabbar wrote:While in Rescue and Recovery (with all CD's removed from your optical drive) you need to tell it to Restore Factory Contents. All the CD's really do is install Rescue and Recovery and the files needed to Restore Windows and the original Factory software.
In addition, some people are pm-ing me saying they're confused about CD numbers mentioned in the above guide. There are few things you've to keep in mind, the disks you create on your own and the disks lenovo sends will usually vary in numbers (as in quantity) due to size of the source partition [newest images will contain latest drivers, applications, service packs etc. ,thus will take more space. On the other hand older ones will take less and your machine will require greater number of updates upon connecting to lenovo and Microsoft servers via Thinkvantage System Update and Windows Update respectively] and media used to burn these disks (depends on availability). I have 3 (1 CD, 2 DVD's) that I got for my thinkpad from lenovo, I have seen lenovo sending them in 2, 3, 6, 5 and 8 combinations of CD/DVD's, the procedure will be same as long as you can identify the labels on the disk.
-To make things easier, I took some pictures of the running process (Recovery disks made under Rescue and Recovery 4.0 for Windows Vista):
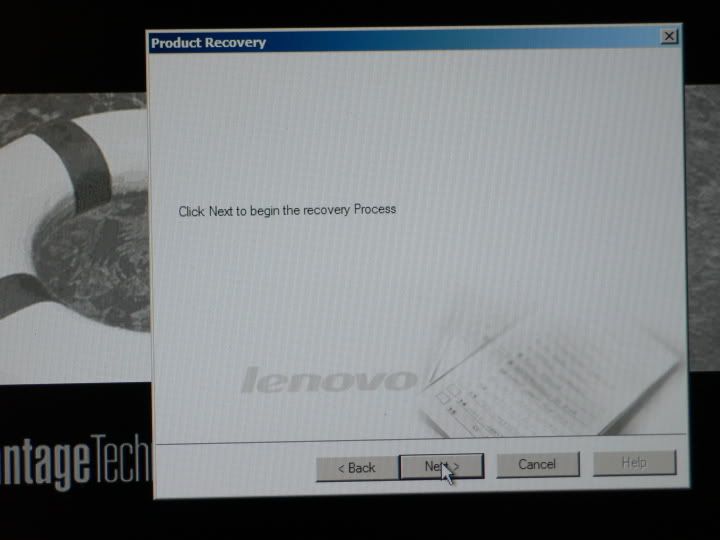
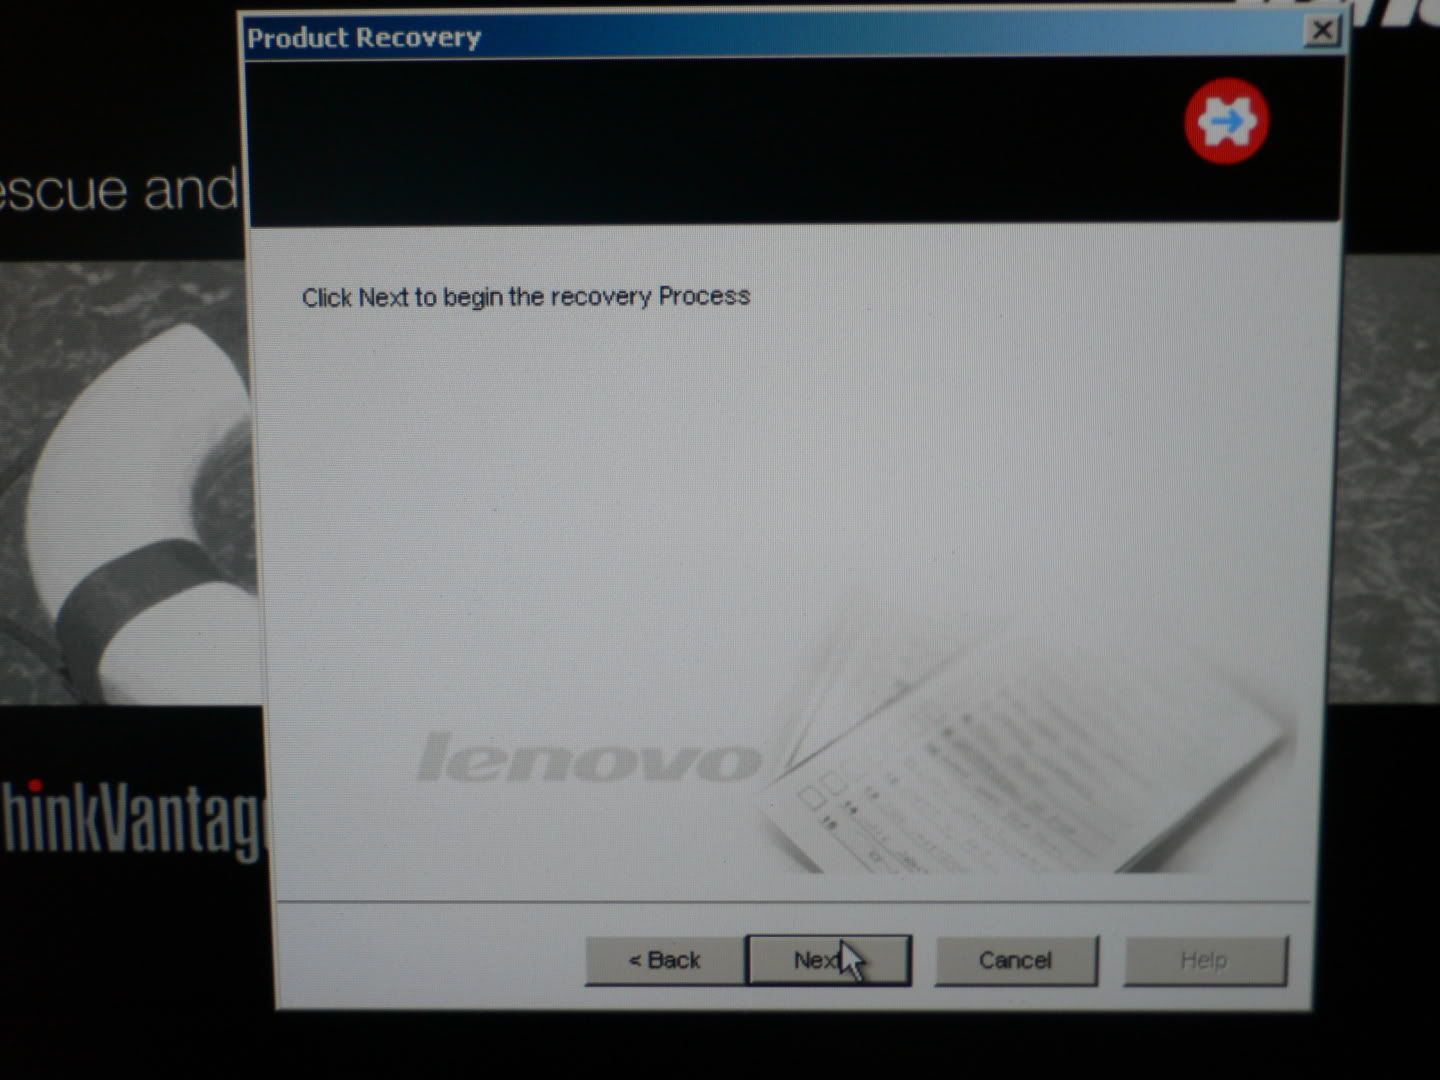
1. Disk 1 (bootable) starts the recovery process and will show you following menus:
a
b
c
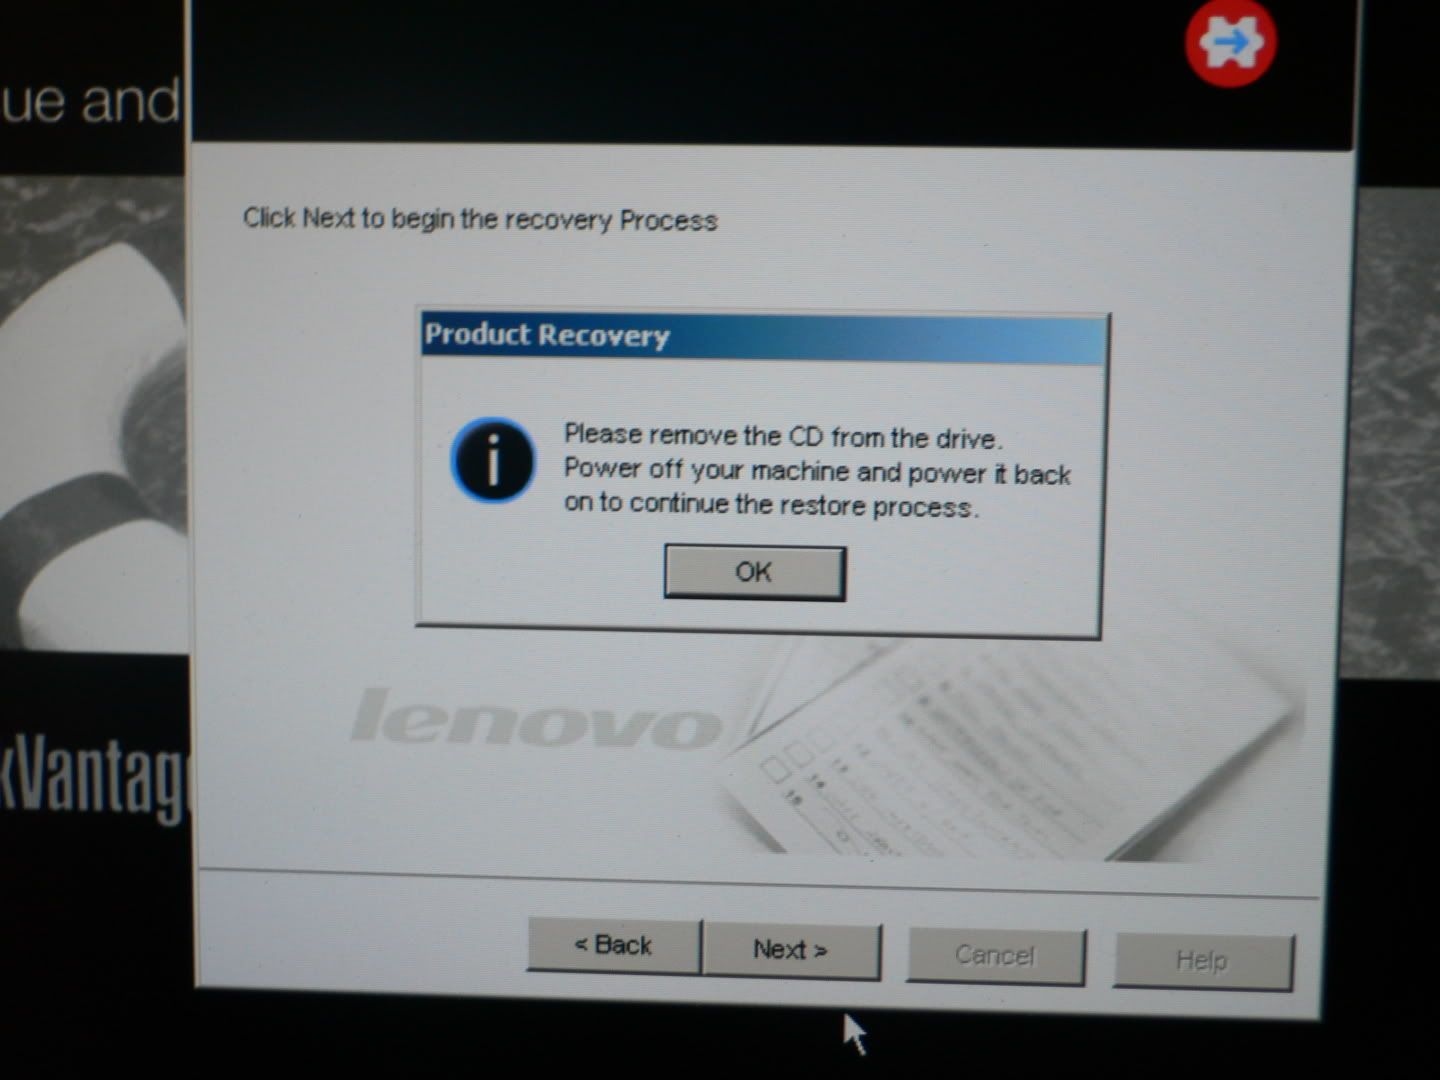
At some point the process would ask you to remove the bootable disk and shutdown your system and power it back.
d
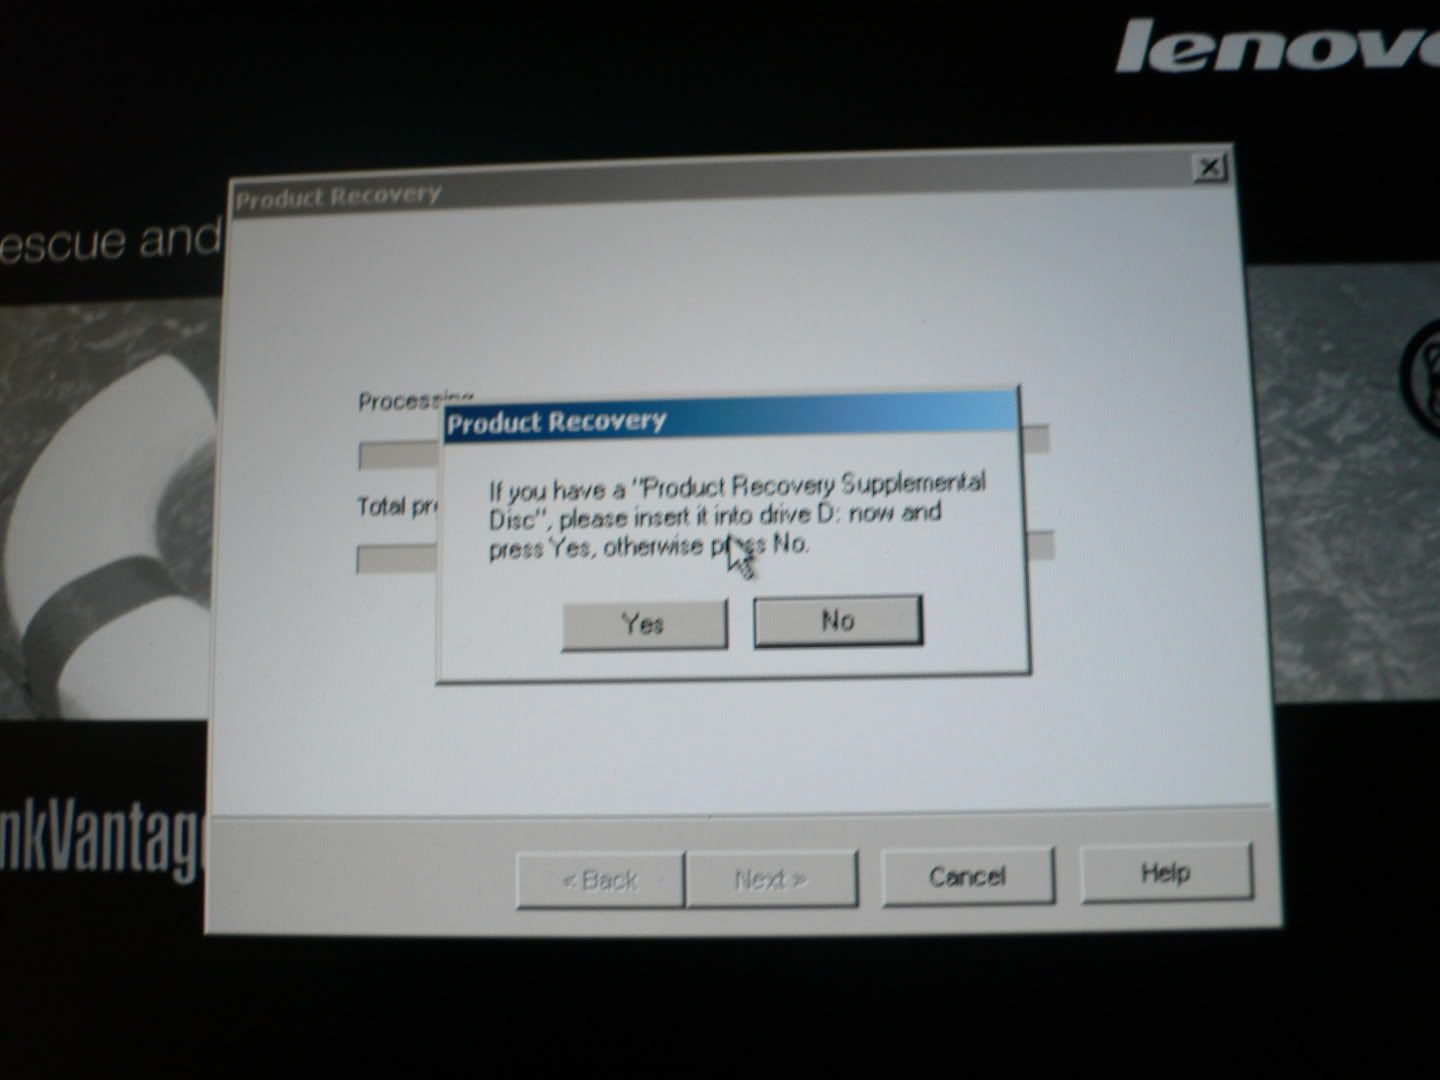
e (Insert the second disk 1st and then press "Yes").
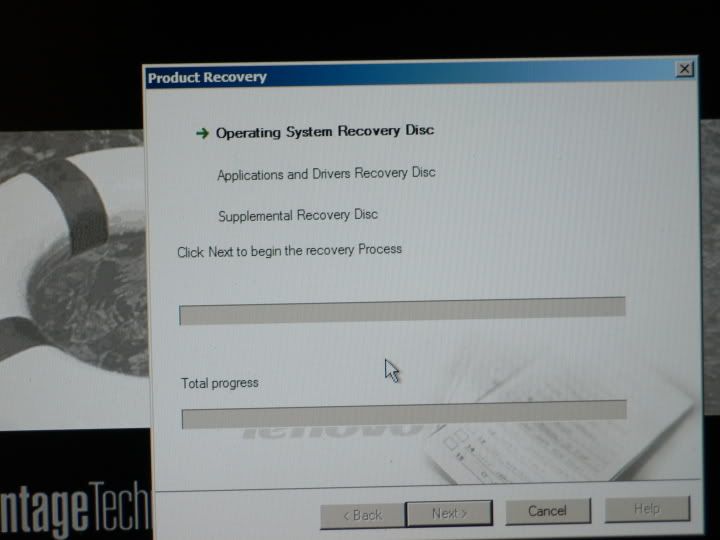
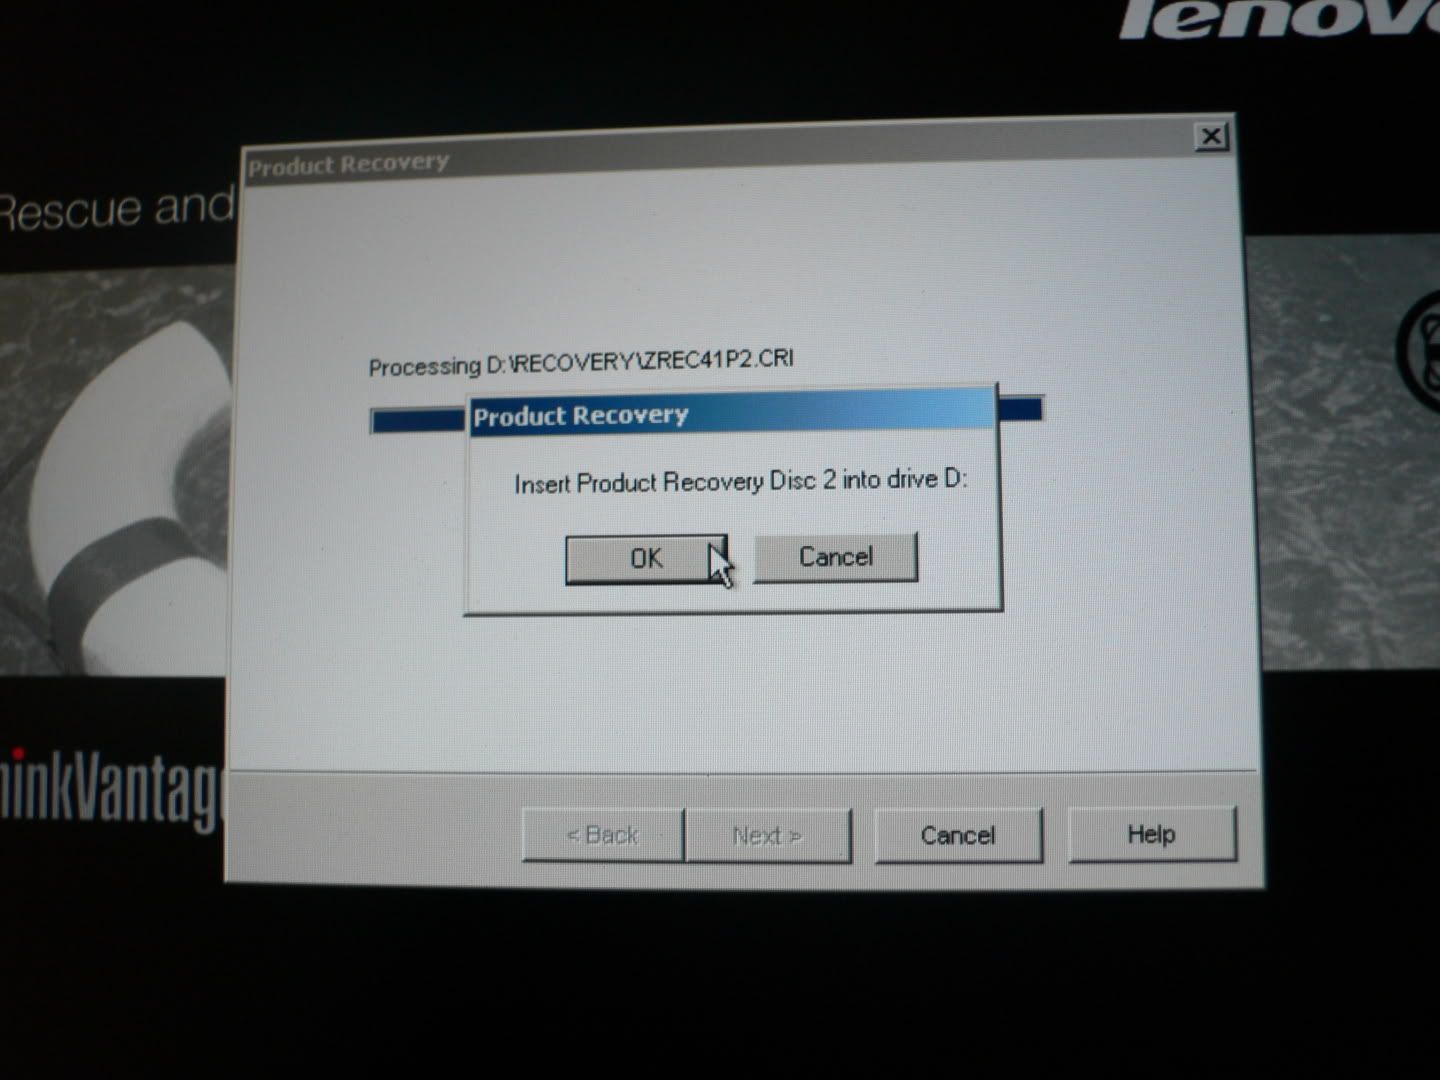
2. Disk 2 (OS Disk) will display the following menus:
f
g (Insert the next disk 1st and then Press "OK").
3. Disk 3 (Applications and Drivers) will display the following menu when it's done installing:
h (If you have a Supplemental disk then insert it 1st then press "Yes" otherwise "No").
If you pressed No, then do not take out the disk the process is going to access the required files from it again and will halt for a while, no need to panic, give it 10-15 mins.
When it's done you'll see the following menu:
i.
A loop of entering/exiting/restarting Windows will start and can last up to 1:30-2 hrs.
The disks from lenovo look like:
1. Startup Recovery Disk.
2. Operating System Disk.
3. The 3rd disk is labelled as Applications and drivers with the name of the thinkpad(s) it is meant for.
-Things looks differently (GUI mainly) for Windows XP disks made under Rescue and Recovery 4.1 (the latest suite available today):
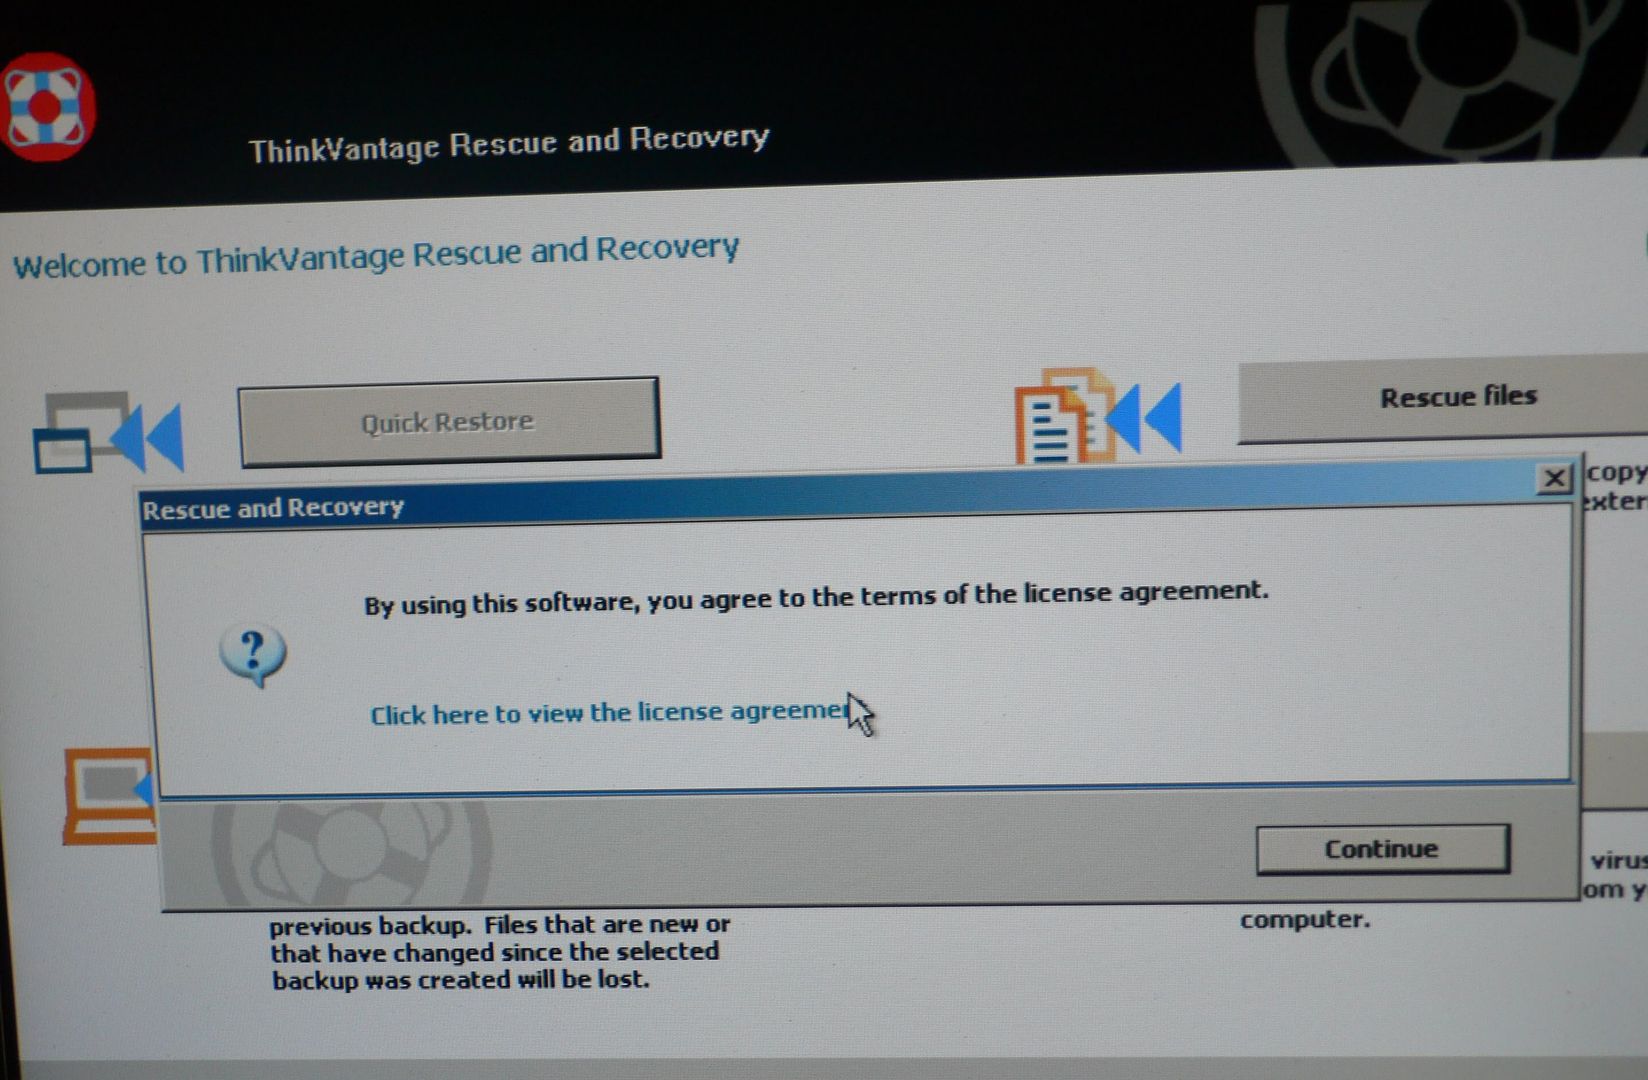
A. Disk 1 (Rescue and Recovery) prompts following menus:
1
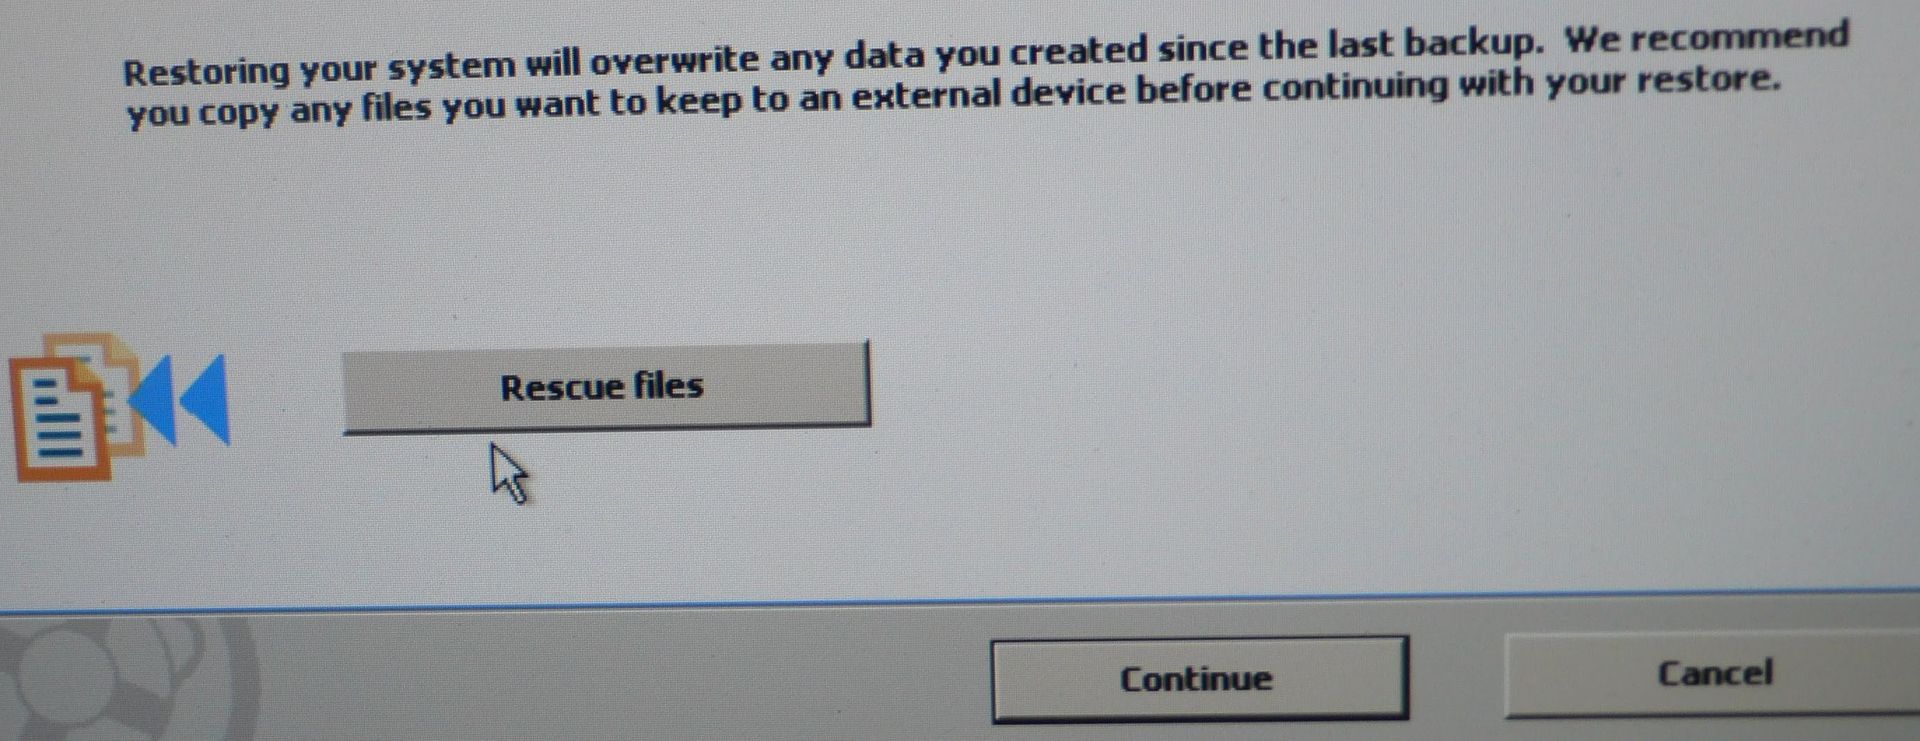
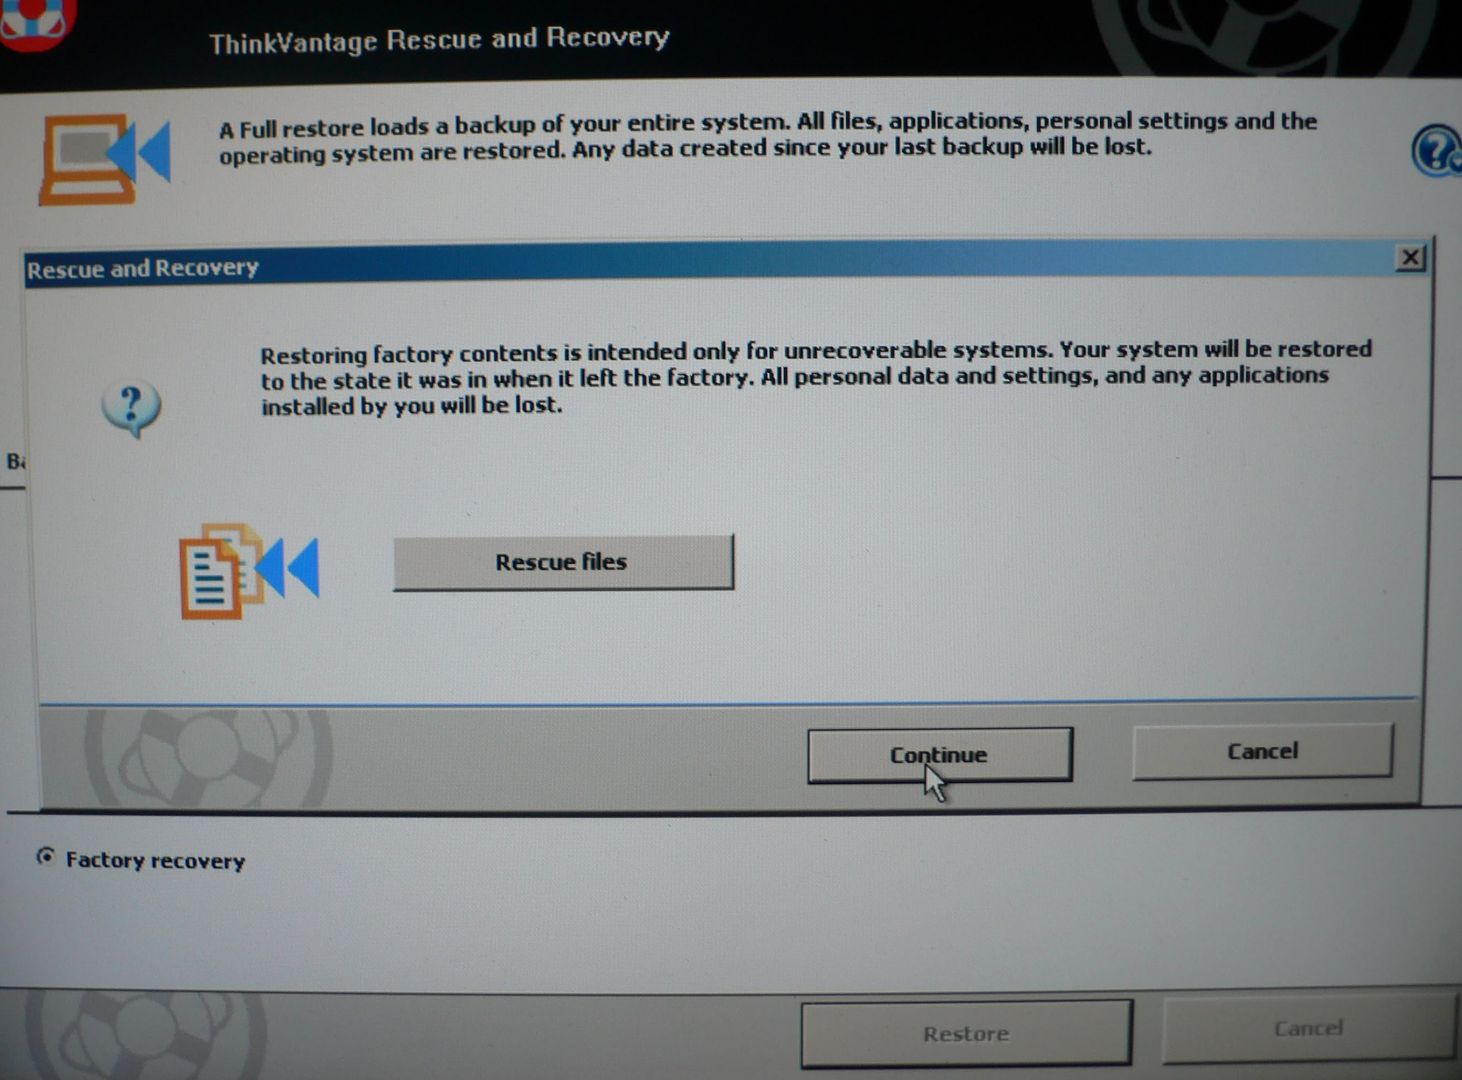
2 (Press full restore in case that's what you would like to do).
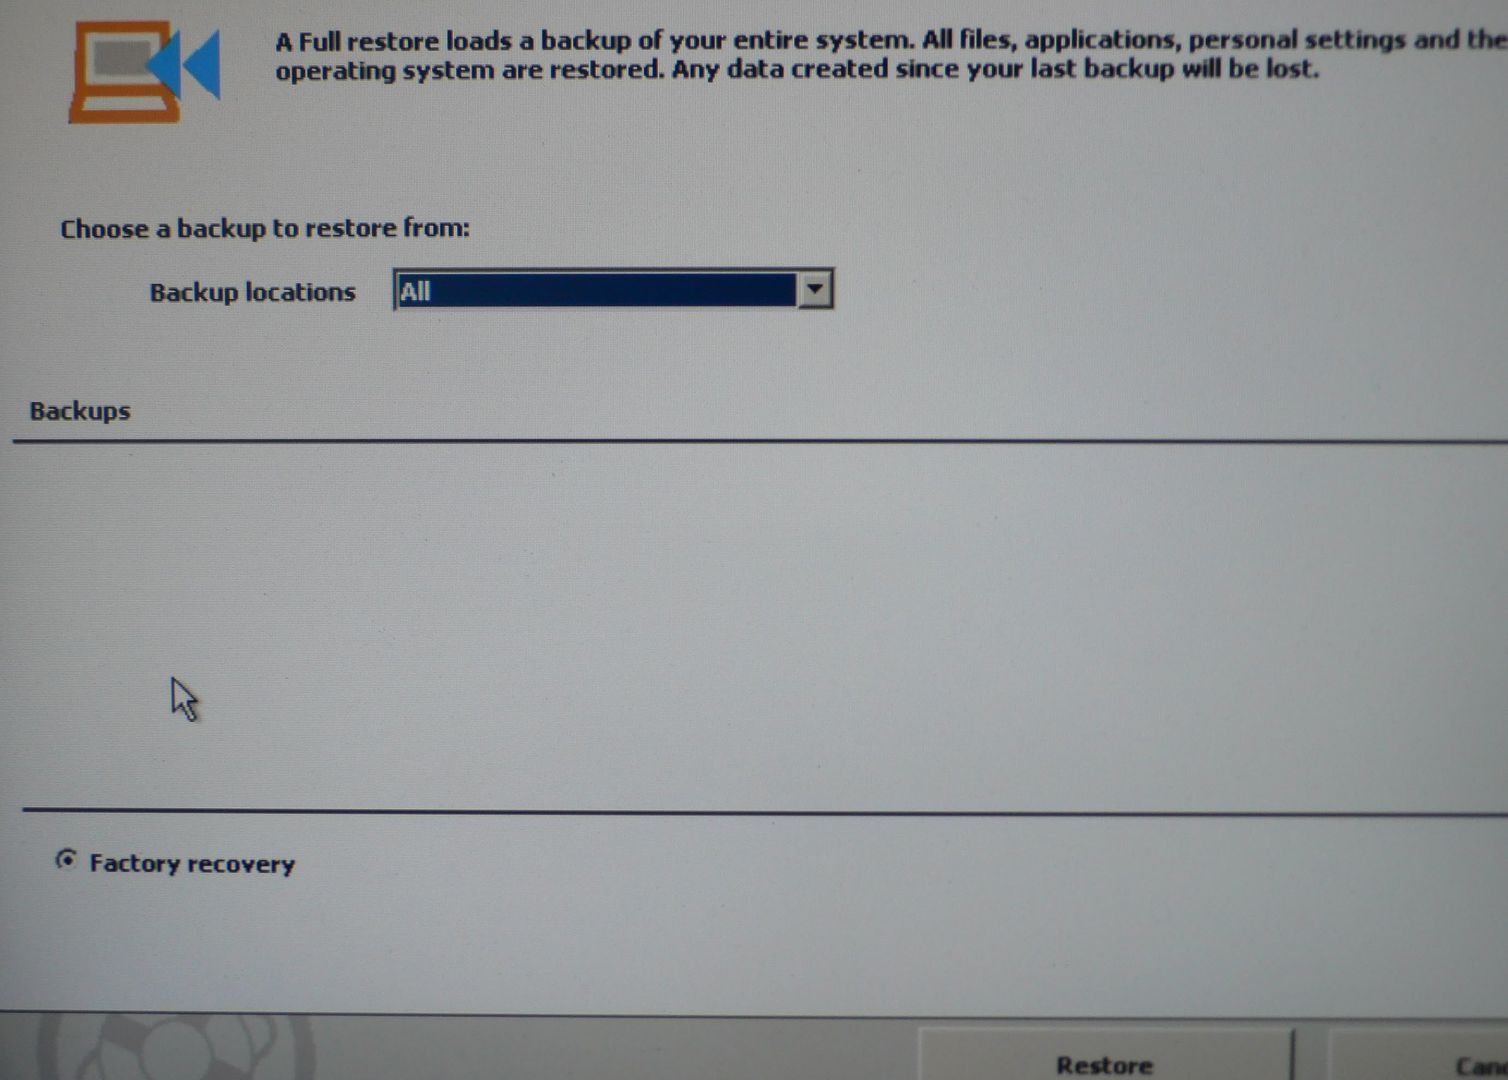
3
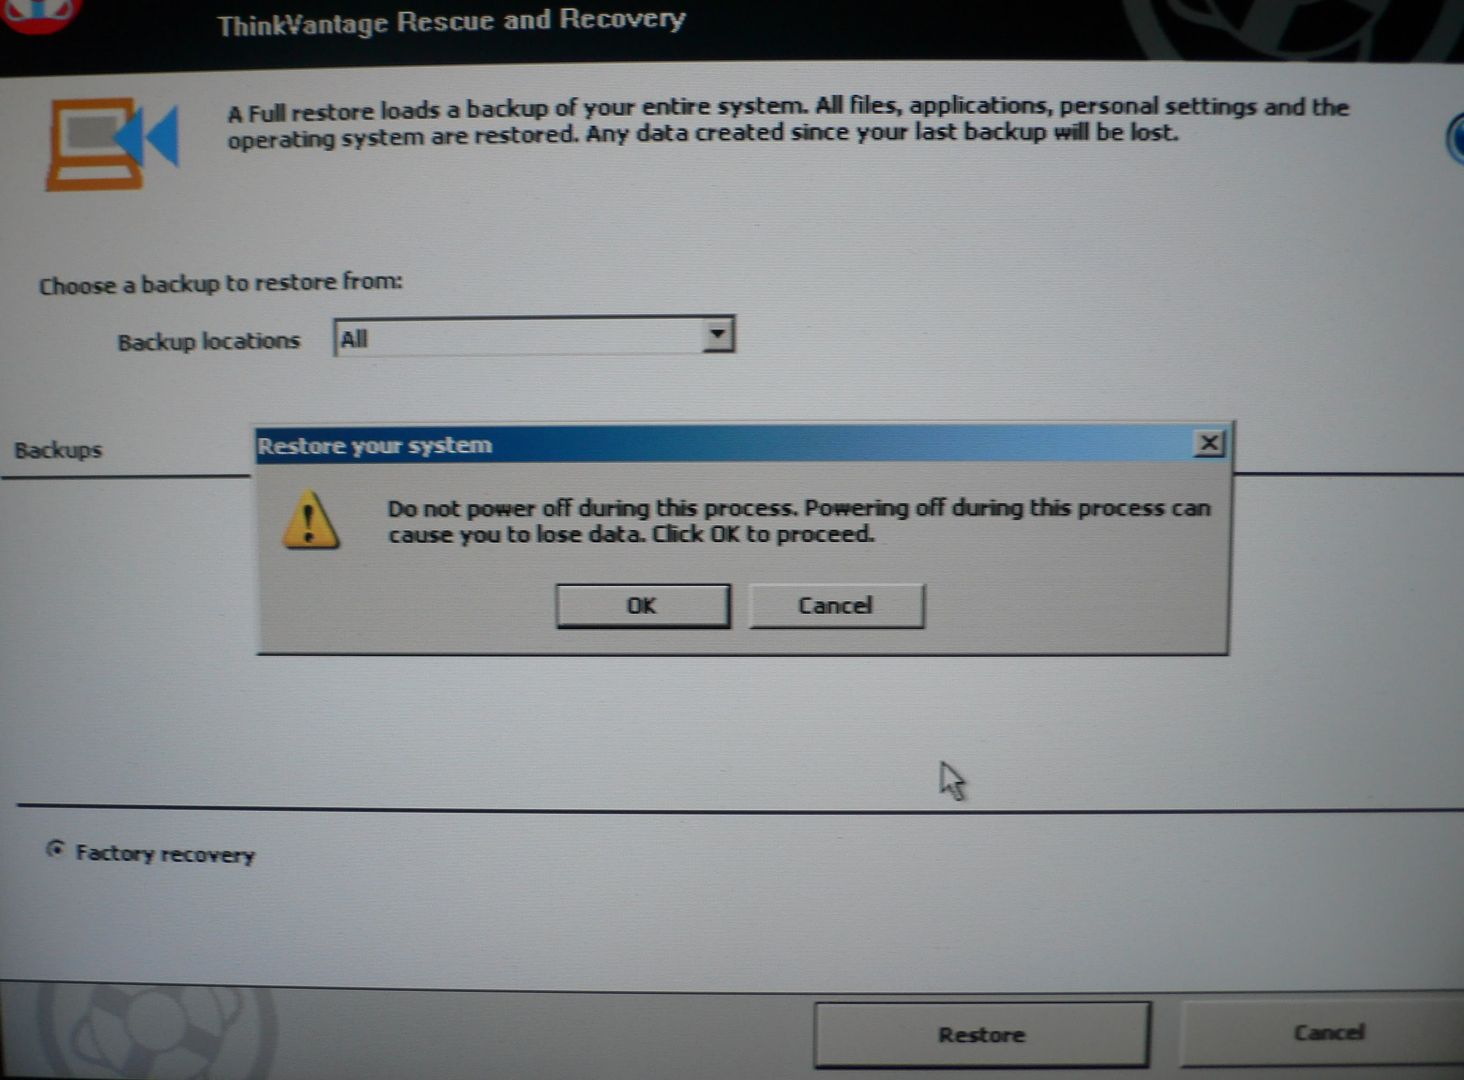
4
5
6
7
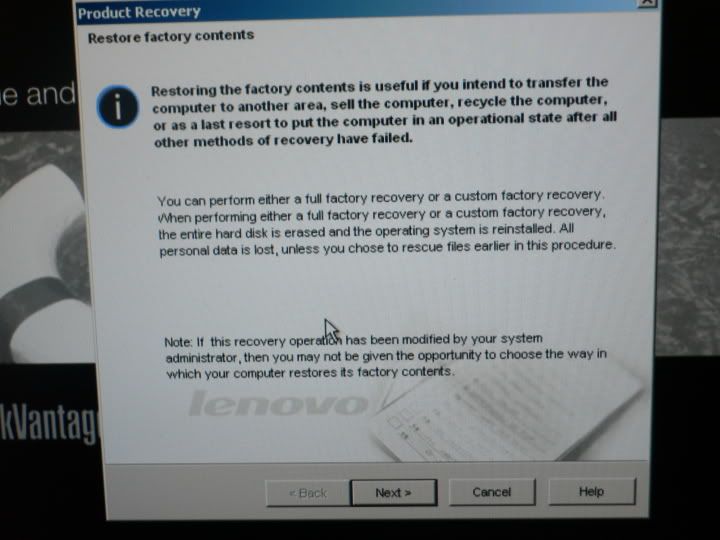
8
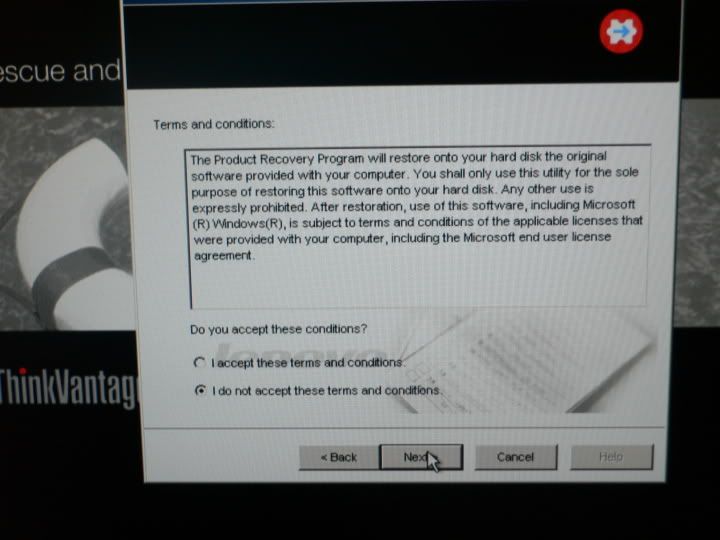
9
10
11
12.
B. Disk 1 will prompt (when it's done ofcourse):
13
Rest of the process is identical to Vista disks explained above, pretty much self explanatory; you insert the disks and they recover/restore your machine.
Note: In Rescue and Recovery 3.0 and 4.x with all the disks removed (once all disks have been utilized), the process will boot back into Rescue and Recovery again and show you a prompt/menu similar to this. I am not sure if it works the same way on thinkpads before *60/*61 series. For what it matters, prior to January 2003 (still IBM days) 1C partition (IBM_Service) type was used, lenovo changed it to type 12 (Thinkvantage Rescue and Recovery) in 2004 and most new thinkpads now use 0x27 partition type, slightly older ones supporting partition-based recovery solution came with 0x1c type and some thinkpads never came with a recovery partition.
Some History from IBM:
IBM is changing its disk-to-disk recovery solution to improve customer usability and to further protect important user data. This paper presents an overview of the former diskto-disk solution which was partition-based, and then provides an in-depth description of the new hidden protected area (HPA)-based disk-to disk solution. Most new IBM computers available in 2003 will come with the HPA-based solution. The hidden protected area, also referred to as PARTIES, enables IBM to provide a disk-based recovery solution that provides greater flexibility and that enhances the security for recovery data, diagnostics and potential future applications.
Dated: January 24th, 2003
Current breakdown of partitions on ThinkVantage Rescue and Recovery system solution:Beginning with the first quarter of 2004, IBM and Lenovo announced that computers that come with the ThinkVantage Rescue and Recovery environment preinstalled have this (type 12 partition) configuration.
Last Modified: February 2006.
Partitions.
Some small FAQs:
Q: Can I install clean install of Windows without ThinkVantage Tools through product Recovery disks?
A: No.
Q: Will Product Recovery disks create service/recovery partition?
A: Yes.
Q: Where is my HPA?
A: New thinkpads don't have HPA, but a hidden partition accessible through the partition table. The recovery solution is called ThinkVantage Rescue and Recovery.
Q: What do Product Recovery disks do?
A: They wipe out your HDD 1st and put your machine to an out of the box factory state.