


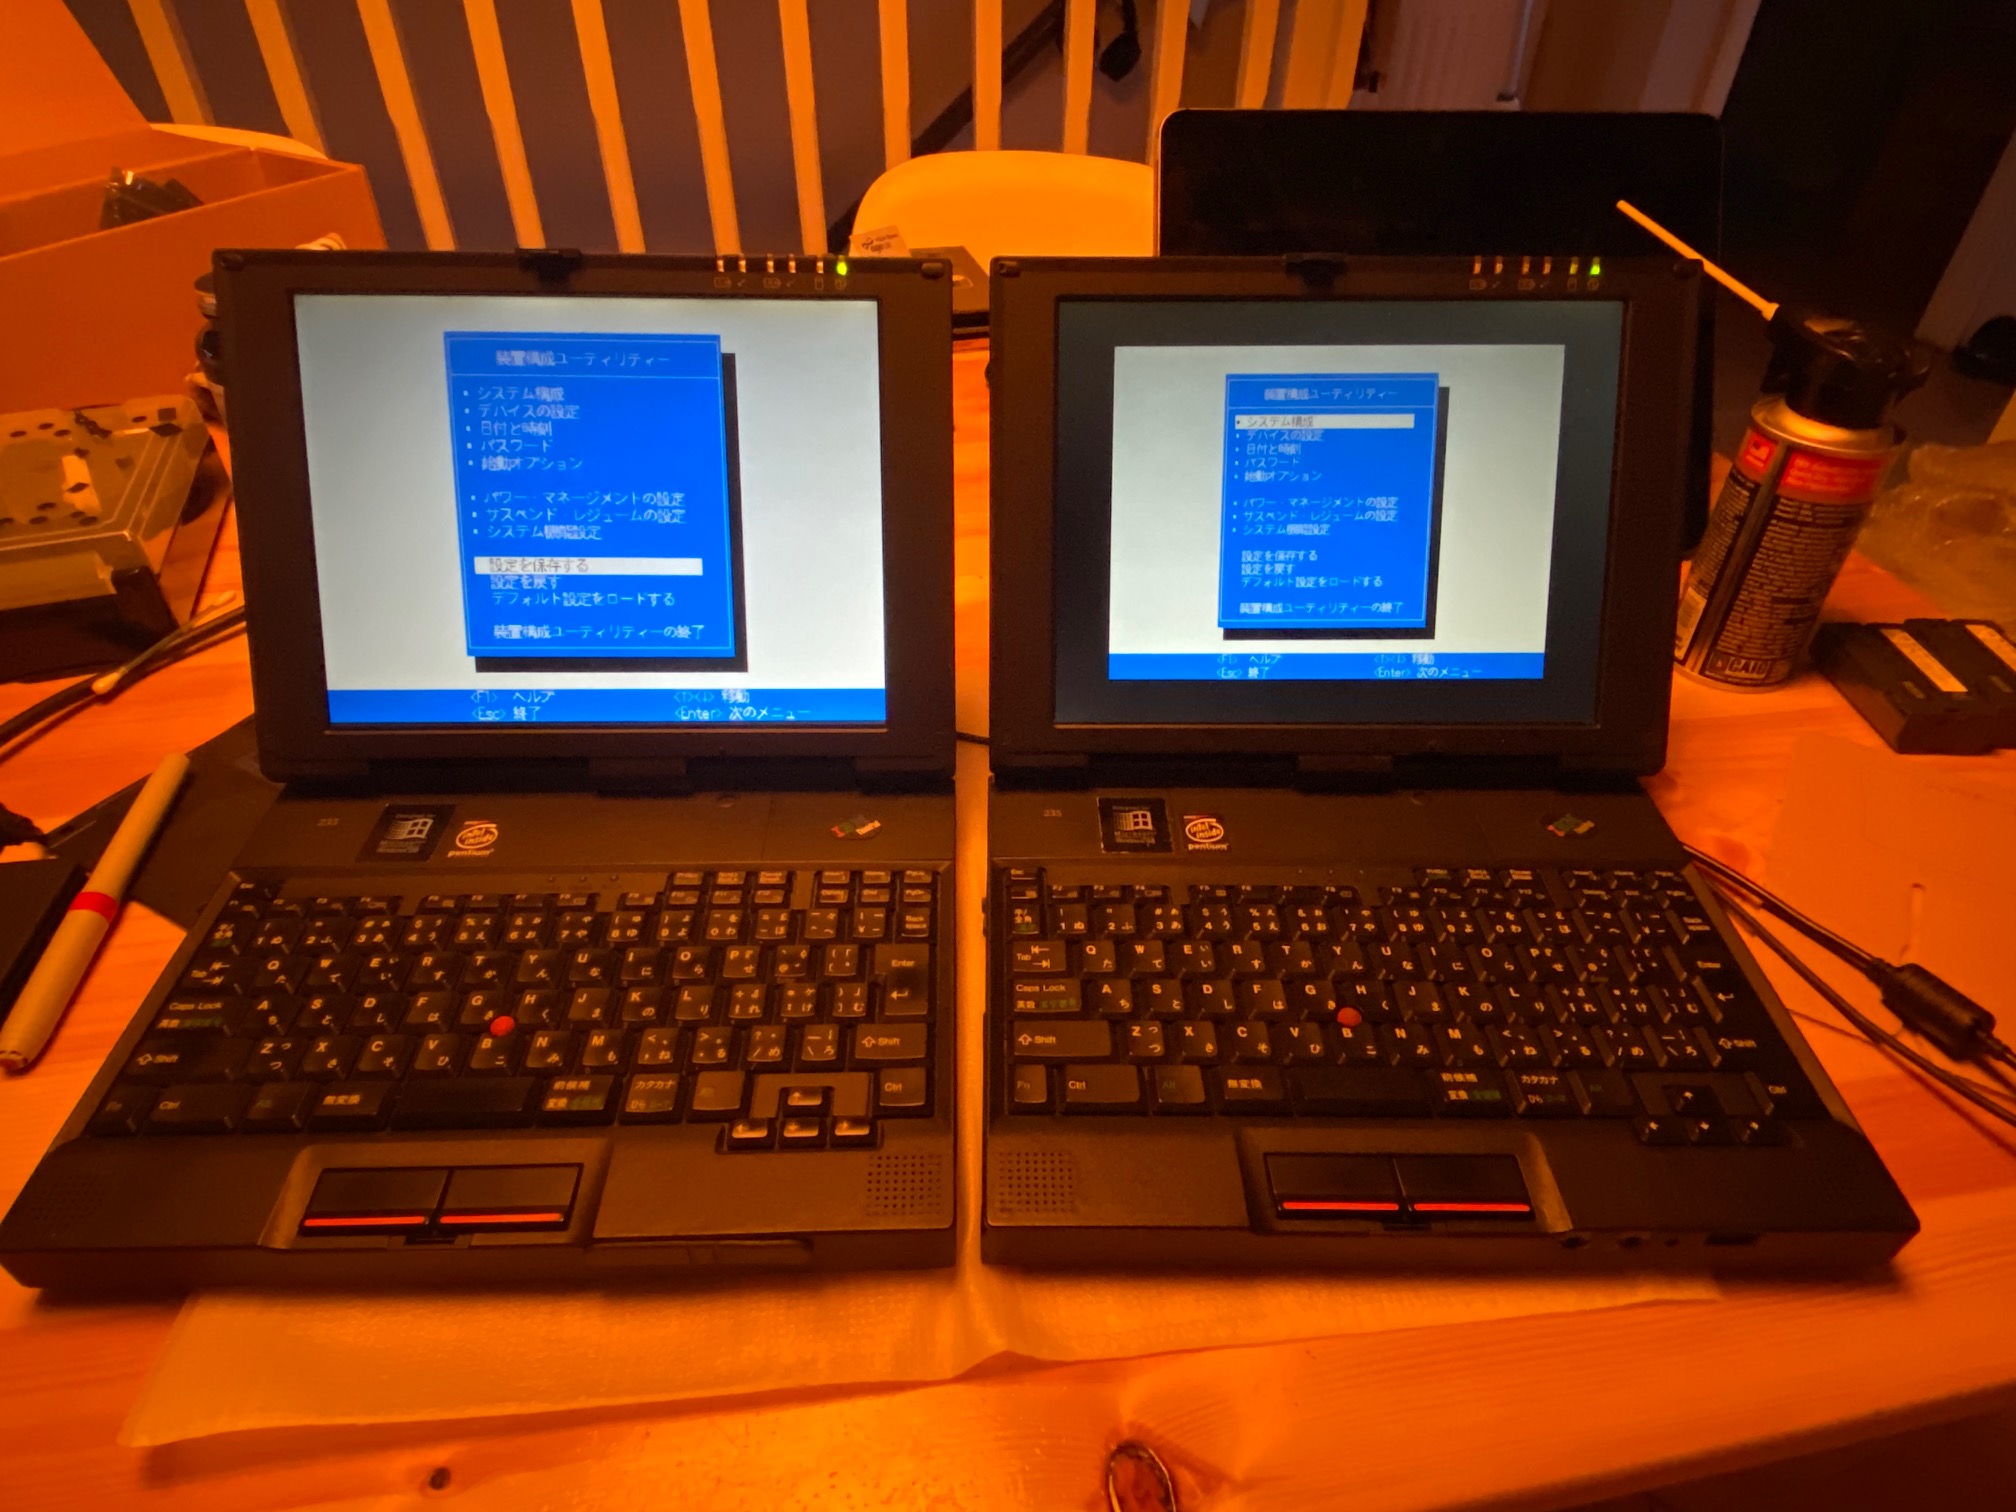
I have 2 x Thinkpad 235 machines - one pretty much factory fresh with Windows 98 and the other a bit more 'weathered' with a faulty HDD. These machines are wonderful little machines - about a third smaller than the 701c and, I think not actually manufactured by IBM, which can be noted by the weird dual 'camcorder' style batteries and non-standard BIOS (in Japanese).
https://ia601505.us.archive.org/29/item ... G_1685.jpg
I spent a few hours yesterday doing some work to bring the second one back to life, learning how to disassemble, navigating the BIOS and replacing the HDD in the lesser one. There doesn't seem to be much on here, or on youtube about working on these machines so I thought I'd make some notes here and I've imaged the working Windows 98 hard drive and uploaded the image to archive.org so that if anyone else is trying to restore without a factory parallel floppy drive and/or USB CD -ROM drive, you can use this image onto a CF card and you're sorted.
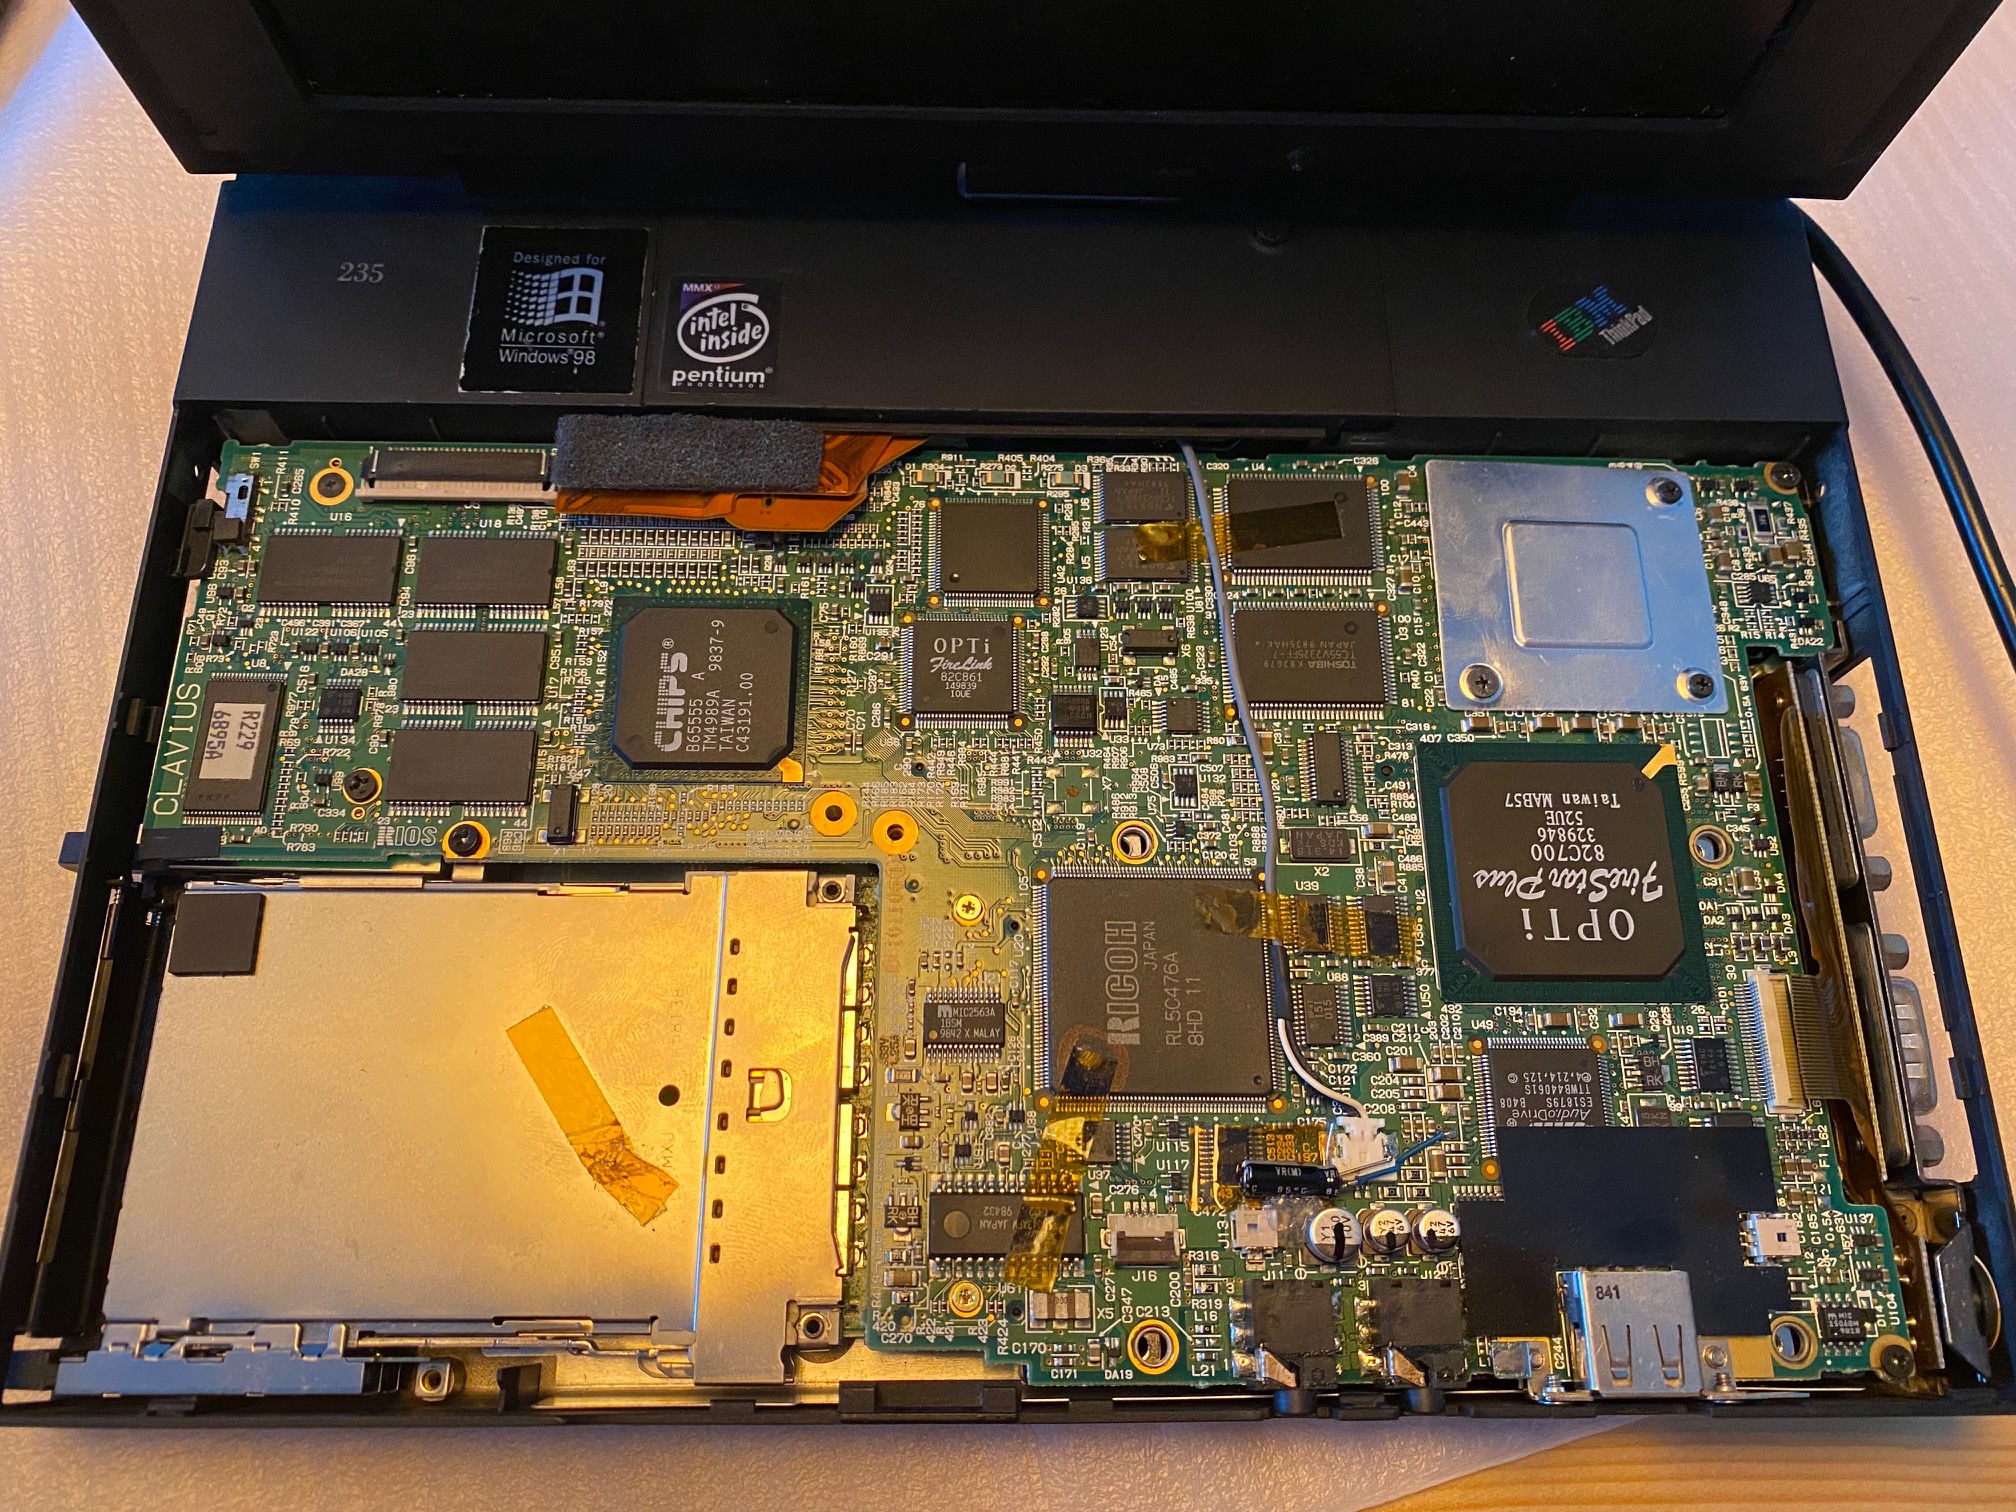
The machine looks a bit daunting as it has a metal case and appears very 'non thinkpad'. The hard drive, for example is buried and the machine effectively needs to be competely disassembled to reach the hard drive. Luckily only 4 screws actually need to be removed to access the insides and then another 7 or so screws lift the motherboard off it's single connector to the base, revealing the hard drive which is attached to the bottom of the motherboard.
The image below shows once you undo the two long screws on the bottom, and the two either side of the machine you can lift off the keyboard (pull the plastic sides out slightly with fingernails and lift the keyboard up at the back and away from the front). Bottom left is the PCMCIA slots. The hard drive sits underneath the jet-black plastic bottom-right. You have to also remove the 3 screws onto the silver-square headsink top-left which clamps the heat sink on the bottom onto the motherboard. This machine has been repaired at some point, as you can see an alumnimum capacitor has been laid inside alongside a tantalum which has been removed. On the far right you can see the ribbon connector which connects to the serial and video SVGA output on the right of the machine.
https://ia601505.us.archive.org/29/item ... G_1679.jpg
The keyboard is connected with 2 ribbon cables (1 x keys, 1 x trackpoint) and 2 speaker cables.
At the top are two connectors which look very IBM - the one you can see is video and underneath it is a similar, smaller one which I think is the LED indicator lamps and maybe microphone.
The centre plastic case directly above the keyboard is also removed, by removing the two larger screws on the back of the machine (not bottom) and then the front plastic lifts forward at either corner and then directly upwards. You don't really need to do this though to work on the hard drive or motherboard.
Onto the BIOS. It's all in Japanse but if you click on each menu item, you can pretty easily work out what is what. First is just info about the specification, then I think there is one to do with setting IRQs, then there is some stuff about display output etc. Luckily my sister understands Japanese and I asked her to translate just a couple of the screens which weren't obvious and likely necessary for getting the machine working. The ones which I needed someone to translate for me are:
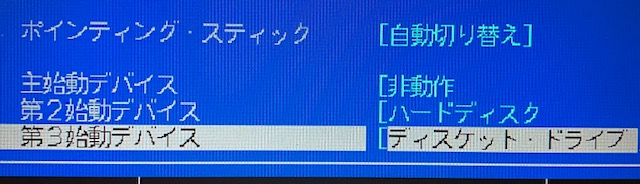
These lines translate as:
- "Pointing Stick" : "Automatic Switching"
- "Nothing" (as in no boot device)
- "Hard Disk"
- "Diskette Drive"
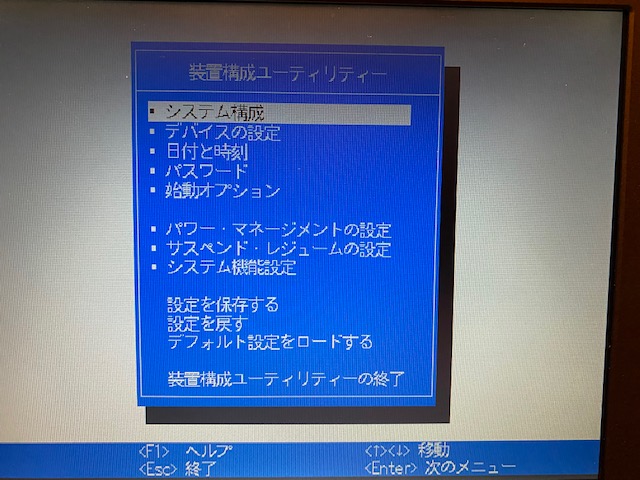
This one says:
* Power Management Settings
* Suspend/Resume Settings
* System Default Settings
* Save Settings
* Revert Settings
* Load Default Settings
"Termination of equipment Configuration Utility" (Exit)
What I also learned is that if you simply remove the CMOS battery to reset everything, when you boot it up, you get an error screen, press enter and if the hard drive is bootable, the machine will boot to hard disk. I presume it defaults to Floppy, then Hard Drive.
So finally, I have uploaded a 650Mb restored HDD image to archive.org. This was created by a previous owner. I tested the image restore to a 2.5" spinning IDE drive and it didn't like it - something to do with the MBR not being similar on a solid state drive. I restored the image to a compact flash card and it worked absolutely perfectly on the second machine (which had a broken hard drive).
https://archive.org/details/ibm-thinkpa ... disk-image
If you need to restore it, I suggest you use Active@Disk Image software on windows as I have had the most success restoring hard drive images using this tool. As I recall, it's not free but it's also cheap and works.
I hope this all helps others doing a 235 restoration, as I had to work all this out myself as I couldn't find anyone else having already done it online.
cheers!
FORUM warning:
some picture(s) WAY too big, tags removed. Please read the Forum Rules, especially Section 5: viewtopic.php?f=16&t=14339